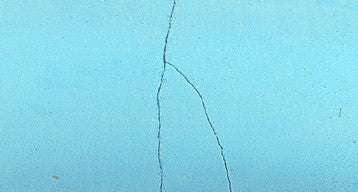
You will need the following tools:
- 1 x pack of Pratley Putty Standard Setting (You may need another pack depending on the size of the crack or chip. Do not use Pratley Putty Quickset® for underwater use)
- 1 x pair of Mask and Snorkel (so you can see what you are doing underwater)
- 1 x clear plastic packet. Zip-lock bag is ideal
Make sure that the crack and area around the crack is free from dirt, algae and loose marbelite. A hand held plastic bristled scrubbing brush can be used to remove dirt and algae. Mix the Pratley Putty Standard Setting while outside the water according to the instruction leaflet contained in the pack. Make sure the Putty is a uniform cream colour once mixed. Put the blob of Putty into the Zip-Lock bag and close the bag. Put on your mask and snorkel and enter the water with you bag of Pratley Putty in hand. Open up the bag underwater and take a piece of putty. The technique is to push and smear (knead) the Pratley Putty onto the surface at the same time. Applying some pressure is important as the resins from the putty need to make contact with the marbelite substrate. This will allow the Pratley Putty to adhere much better to the surface. Build up with further layers as necessary. Once all the Putty has been applied into and over the crack, the surface and edges of the Putty can be smoothed down using your index finger or thumb. Do not be concerned about a slight milky cloud being liberated from the Pratley Putty for a few minutes after you have applied it. This will stop in a few minutes once the Putty starts the curing process. Do not swim in the pool for 48 hours while the Pratley Putty is curing.

